DayDreamWrites
We are Thrilled to get Amazing Food Recipes to You.
DayDreamWrites
We are Thrilled to get Amazing Food Recipes to You.

crispy samosa dough recipe, Although the exact origin of samosas is unknown, it is thought that they were first introduced to India and other regions of the world from the Middle East or Central Asia. It is thought that the word “samosa” itself descended from the Persian word “sanbosag,” which describes a pastry stuffed with cheese, meat, or vegetables.
Under the Mughal Empire, which governed from the 16th through the 19th century, samosas gained popularity in India. They were brought to India by traders and troops from Central Asia, who also brought the custom of preparing stuffed pastries.
Samosas gained popularity as a street dish and snack in India throughout time, and the filling started to contain a range of items such potatoes, peas, lentils, and meat. The variety and complexity of the spices and ingredients used in the filling also increased, reflecting the nation’s many culinary traditions.
Samosas are a popular snack and street dish in many regions of the world nowadays and come in a wide range of flavors and designs. They can be eaten as a quick and tasty snack or as a portion of a bigger meal, and they are frequently served with chutneys or other dipping sauces.

Samosa dough is a straightforward mixture of flour, water, and oil that is used to create the samosas’ outer shell. Here is a simple samosa dough recipe:
1/2 teaspoon salt0.5 cups of water
The samosa crusts can be made by rolling out the dough, cutting it into circles or squares, and then resting it. With the addition of the filling, the samosas can be sealed before being deep-fried or baked until crispy and golden.
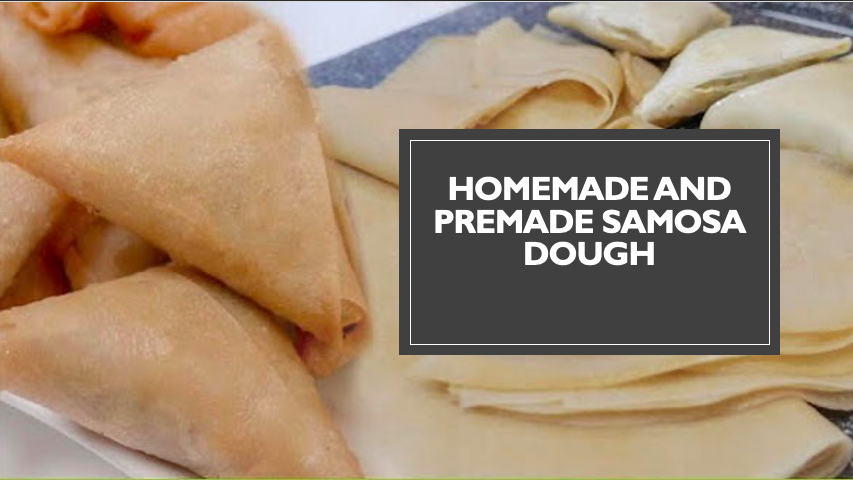
Samosa dough created from scratch is typically regarded as superior to ready-made samosa dough. This is so that you may manage the ingredients’ quality and make homemade dough according to your tastes.
Furthermore, homemade dough typically tastes better and is fresher than ready-made dough, which may contain additives or preservatives to extend its shelf life.
When you make your own samosa dough, you may customise the proportions of salt, oil, and other ingredients to create a tastier final product. Also, using homemade dough gives you more freedom to make samosas of any desired size and shape.
On the other hand, if you don’t have the time or money to produce your own dough, pre-made samosa dough can be a simple alternative.
It can save you the trouble of creating your own dough and is conveniently available in many supermarket stores. To make sure the ready-made dough satisfies your dietary requirements and tastes, it is crucial to review the ingredient list and nutritional data before making a purchase.
Although both handmade and pre-packaged samosa dough have benefits and drawbacks, homemade dough is typically regarded as having superior taste, quality, and adaptability.

Instead, you might bake the samosas in the oven as opposed to frying them. Samosas should be brushed with oil or egg wash and baked in an oven preheated to 375°F (190°C). Samosas should be baked for 15 to 20 minutes, or until crispy and golden brown.
Samosa dough, which is used to create the samosas’ outer coating or crust, is also known as samosa pastry. To improve the flavour of the samosas, the pastry can be altered by adding additional herbs or spices to the basic recipe of flour, water, and oil.
The savoury and spicy flavours of samosas make them a favourite Indian snack. In the classic samosa filling, potatoes, peas, onions, and occasionally meat or other veggies are seasoned. A mixture of spices, such as cumin, coriander, turmeric, and garam masala, is generally used to season the filling, giving it a rich and varied flavour.
Several different samosa flavours and varieties are available in addition to the traditional potato and pea stuffing. Popular choices comprise:
Samosas can also be served with a variety of dipping sauces, which can improve the flavour of the snack. These sauces include tamarind chutney, mint chutney, and spicy yoghurt sauce. Samosas are a tasty and delectable snack that, depending on your preferences and tastes, can be enjoyed in a variety of ways.
Depending on the filling used and personal desire, the samosa crust thickness might change. Samosas can often be baked with a thin or thick crust, and each variety has a distinctive flavour and texture.
Samosas with a thin crust are typically crispier, lighter, and have a delicate crunch that goes well with fillings that are hotter or more flavorful. They are a popular alternative for manufacturing handmade samosas since they are also simpler to fold and seal. Before cutting the dough into circles or squares for the samosas, roll it out thinly, to a thickness of approximately 1/8 inch.
On the other hand, samosas with a thick crust are typically heartier and more substantial. They have a chewy and doughy texture that might go well with contents that are milder or more understated. They are a preferred option for commercial samosas since they are stronger and can withstand baking or deep-frying. Roll out the dough thicker, by about 1/4 inch, to create a thick crust.
Ultimately, personal preference and the type of filling being utilised determine whether samosas should have a thin or thick crust. You should feel free to explore and find the crust thickness that is most comfortable for you because both possibilities can be delicious and rewarding.
For those with celiac disease, gluten intolerance, or who wish to follow a gluten-free diet for other health reasons, gluten-free samosas are a fantastic option. You must use gluten-free flour, or a combination of gluten-free flours, to produce the pastry if you want to make gluten-free samosas.
Here is a simple recipe for samosa pastry made without gluten:
Salt and gluten-free flour should be combined in a sizable mixing bowl.
The flour mixture must be combined with the vegetable oil until it resembles coarse crumbs.
Once the dough begins to come together and form a smooth ball, gradually add the water and continue mixing.
The dough needs to be kneaded for a few minutes to become soft and malleable.
The dough should be covered with a moist cloth and rested for at least 30 minutes.
To make the samosa crusts, roll out the pastry when it has rested, then cut it into circles or squares. With the addition of the filling, the samosas can be sealed before being deep-fried or baked until crispy and golden.
You can use any protein or vegetable combination you like for the filling, along with your preferred spices and seasonings. Verify the gluten-free status of any ingredients you use.
Overall, anyone on a gluten-free diet can enjoy gluten-free samosas because they can be just as tasty and flavorful as traditional samosas.


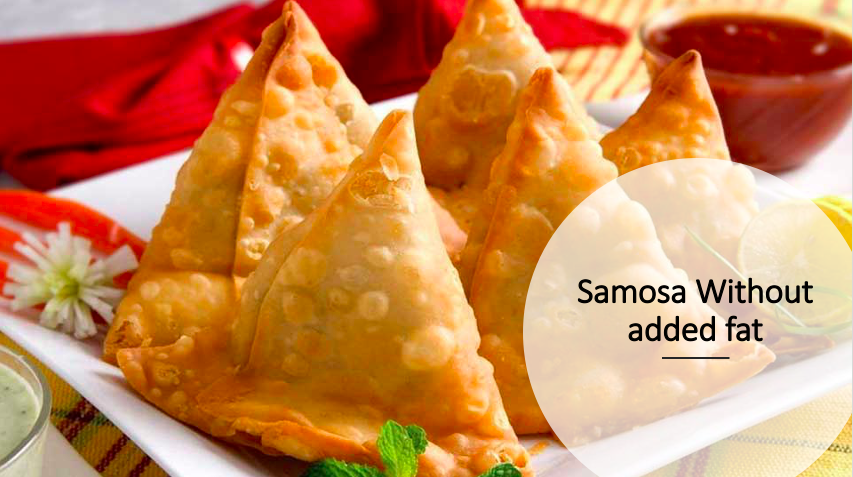
[…] fact that samosas are frequently deep-fried should be noted as this can raise their calorie content. Samosas’ […]